Setting Up A Website From Scratch
From web server to domain to Git to Wordpress theme
This post aims to guide you through setting up a brand new website from scratch. IIS, FTP, Internal DNS, External DNS, GitHub repo, Dreamweaver STE, MySQL database and user, WordPress set up, WordPress Theme and Plugin configuration. This document will be an outline to start and should eventually be filled in with more details. Some areas may be purposely left generic to deal with ever-changing dependent software, code and environments.
These steps apply to sites hosted by Marriner.
I. Set Up IIS, FTP and DNS.
- Set up the actual folder/directory on the Rackspace web server
- configure IIS (internet information services) to run/serve up the actual site on the Rackspace Server
- Create and Point Internal and External (if applicable) DNS (domain name servers) so that the site is able to be browsed
- Set up FTP (file transfer protocol) to connect Dreamweaver and FTP clients to transfer files.
- Save this information to the appropriate locations (WMJ note, \Office_Data\NETWORK\passwords.xlsx)
Please follow these directions: Adding Subdomains.
II. Create GitHub repository (repo)
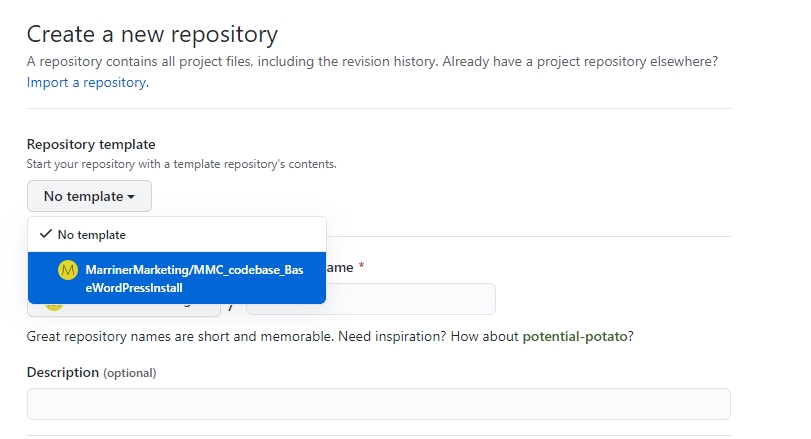
- Create a new MarrinerMarketing repo. Follow this naming convention.
- Repository Template: Use MMC_codebase_BaseWordPressInstall. Learn more.
- Make sure the appropriate teams and users have access
- Clone the repo to your development environment (GitHub desktop).
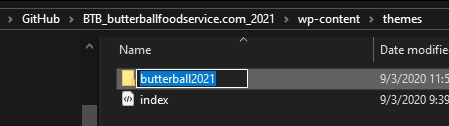
- Rename the "base" theme folder for the new site. Be clear for the theme name, e.g. ButterballFS2021
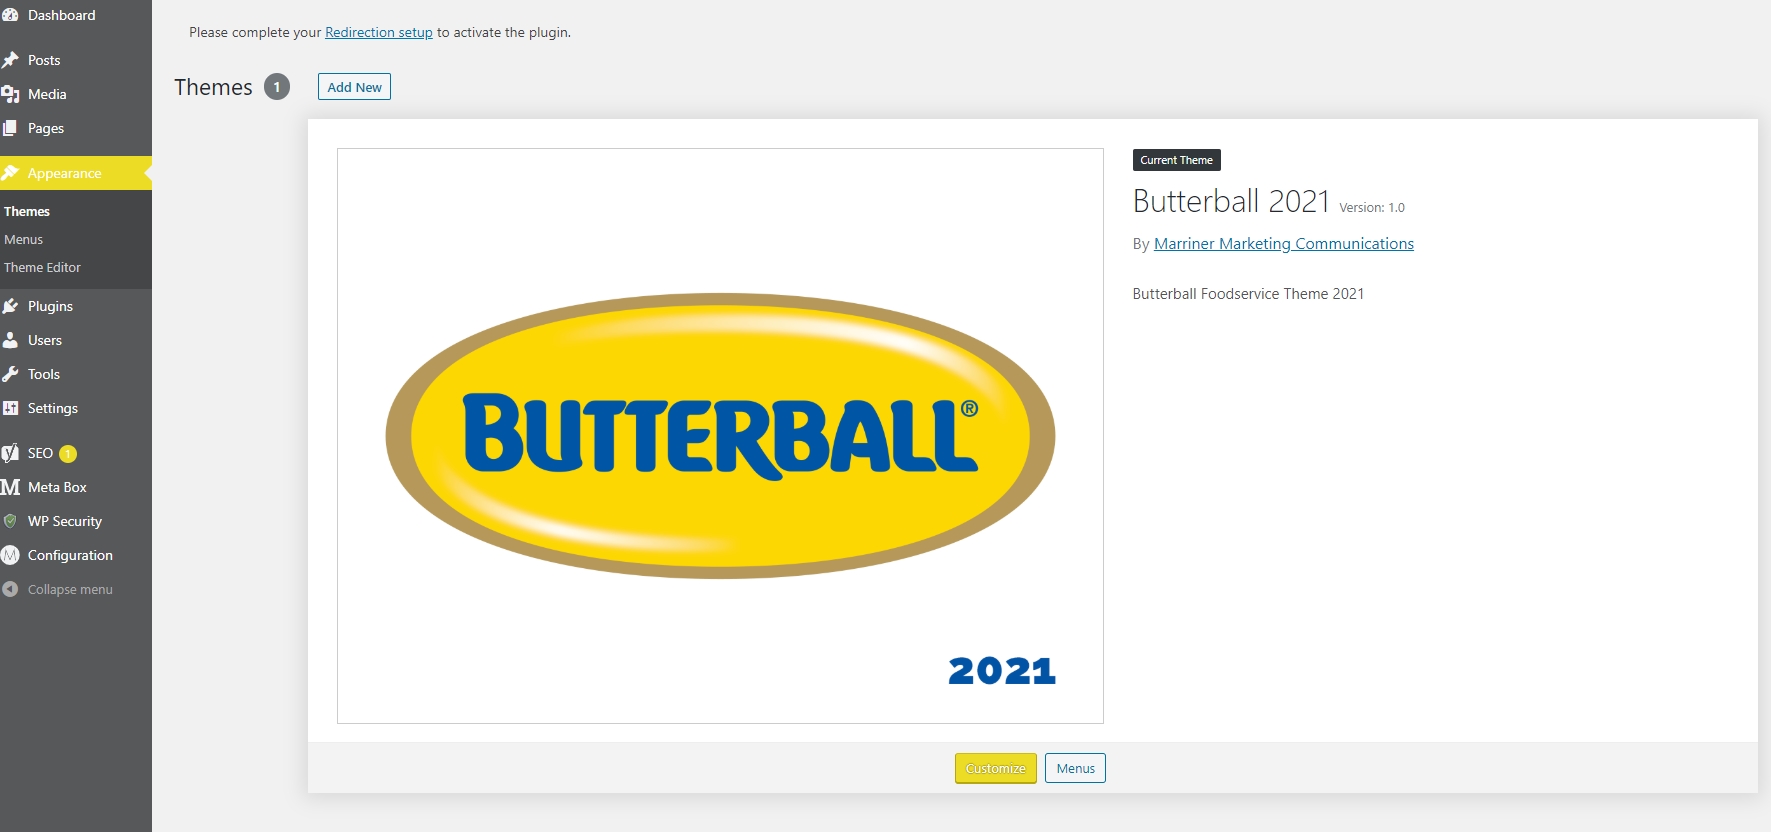
- Edit themefolder/style.css > rename the theme and give it a description. This is what will appear in WordPress Admin > Themes
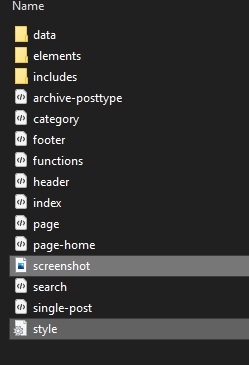
- Open themefolder/screenshot.png in Photoshop. Change to full color. Edit screenshot to accurately depict this theme. Save as an 8-bit PNG. The screenshot below shows how these files affect WordPress.
- Commit/push/sync these changes to GitHub
- Create a new branch: "Development"
III. Configure Dreamweaver
- Create a new site (manage sites)
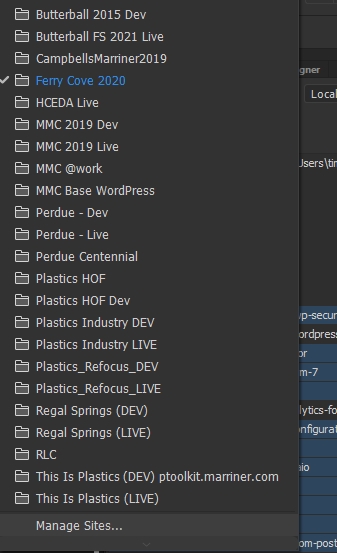
- Site > Site Name (Be clear, no generic names, e.g. MMC 2019 Live) and select Local Site Folder (this should be the GitHub repo directory)
- Servers > Add + > Name server, input FTP address, username, password (check save), root directory (alias created in IIS), website URL
- Advanced Tab > Uncheck "maintain synchronization information" > Check "Automatically upload files to server on save"
- SAVE
- CSS Preprocessors > uncheck "enable auto compilation on file save." WP-LESS handles compiling. We don't need Dreamweaver to create a CSS file from our LESS file.
- SAVE
- EXPORT > "Back Up My Settings" to maintain passwords, etc.
- Save to Dreamweaver STE folder on Marriner file server \Office_Data\NETWORK\Dreamweaver STE Files
IV. Remove Unneeded files and Push To Web Server
- Clean up the plugins folder and remove unneeded plugins for this site (e.g. Contact Form 7 and Flamingo if using MMA)
- All of the individual Metabox (metabox/mb) plugins are included to do lighter/cleaner installs of one or two extensions. However, it is easiest to just use Metabox and Metabox AIO (all-in-one) which automatically updates and enables all metabox extensions. If using AIO, you can delete every other metabox/mb plugin from this site other than Metabox and Metabox AIO. More information.
- Remove any default themes or other files (shouldn't be necessary if just using the MMC Base install repo as the template but might be if inheriting files from elsewhere)
- Sync/Commit/Push changes to Git development branch
- Push the entire updated base theme and site files to the server. Everything.
V. Configure MySQL Database
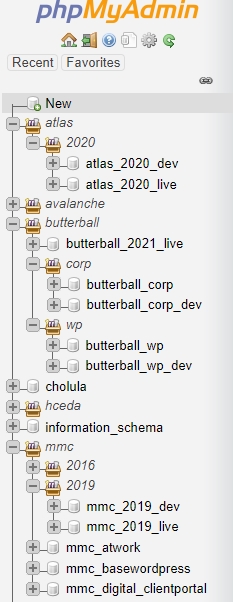
- Log in to MySQL phpMyAdmin
- Create a NEW database. Follow similar naming convention to GIT, such as using client abbreviation to keep databases grouped in the system. e.g. MMC for Marriner. Database should be clearly named, e.g. mmc_2019_live, mmc_2019_dev, butterball_2021_live
- Add an existing user or create a new user for the database. This user should have full access rights to this table and will be used by WordPress. It should not be used or referenced in any other scripts or files for security. Additionally, if possible, create a new user/pw combination so that the same user and password is not used on multiple databases and clients so that if it is hacked the hacker won't have access to more databases. Suggest using the built-in password generator.
- Save this information to the passwords.xlsx file. You'll additionally need this information to complete the WordPress setup.
VI. Run WordPress Setup
WordPress looks for the existence of wp-config.php. If it doesn't exist, it will prompt to set up the database. This can safely be done again if the site already exists, however, it will only update the database information and not the admin configuration.
- In Dreamweaver/FTP push all of the site files to the web server
- Visit the main URL of the site
- WordPress will prompt to start set up
- Input the appropriate database information from the previous section
- For database table prefix, best practice for security is to NOT use wp_. Make it something easily recognizable, but not easily guessable. For instance, btbfs21_ for Butterball Foodservice 2021.
- On the second step WordPress prompts for admin information. Enter your email, create a secure admin account and password.
- Save this information to passwords.xlsx and any other pertinent locations (e.g. WMJ)
VII. Configure WordPress Settings in WP Admin
- Plugins > Enable, disable or delete appropriate plugins
- Settings > General > Set date and time format, weeks starts on Sunday. Time Zone > New York
- Writing > Classic Editor (if not shown, enable plugin for Classic Editor). Allow users to switch editors > no
- Reading > Search Engine Visibility > Check discourage search engines (until it's time to go live)
- Media > Uncheck organize my uploads into month- and year-based folders. Unchecking this keeps all uploads in the root of the uploads folder for better organization. Having files in subfolders makes things hard to find and keep track of from a file standpoint, especially since the site is unlikely to be a blog first-and-foremost
- Permalinks > custom structure: /%category%/%postname%/
VII. Marriner Configuration Plugin
This plugin helps set up the basics for WordPress, theme LESS variables and fonts, and more. It's designed to help the developers set up the site and manage different settings in one spot. Defaults are set, but
- Configuration > Admin & Login > Set login logo (when files are available)
- Configuration > Favicon > Set favicon and mobile browser theme color (when files are available)
- Configuration > LESS Variables > when it's time, define LESS variables for colors, fonts and other properties (such as animations, shadows, etc.) This may not be until actual development beings.
- Configuration > Plugins > Not all sites require the same default plugins. You can disable any notifications for uninstalled plugins here.
VIII. Security and Configure Any Additional Plugins
This list isn't complete, but here are a few examples:
- All In One WP Security. This is the most important and should always be done. This has extensive settings which will be covered in another post (coming soon).
- Simple Post Custom Order. Select post types, pages, meta types, etc. to be able to drag and drop order within the admin. When new post types are added they will have to be checked here.
Was this post helpful?
Did you find what you were looking for? Is there anything that needs improvement?
Last modified: Friday, September 4, 2020 at 3:28 pm